
How To Remotely Access Raspberry Pi For Remote IoT On Windows 10
Listen up, tech enthusiasts! If you're diving into the world of IoT (Internet of Things) and Raspberry Pi, there's one skill you absolutely need to master: how to remotely access Raspberry Pi from your Windows 10 machine. Whether you're tinkering with home automation or managing remote servers, knowing how to set up remote access can save you tons of time—and headaches. So, grab a coffee, sit back, and let’s break it down step by step. remotely access raspberry pi remote iot windows 10 is not just a phrase; it's your ticket to unlocking the full potential of your projects. Let’s get started!
Now, before we dive deep into the nitty-gritty, let’s talk about why this matters. Imagine being able to control your Raspberry Pi from anywhere in the world, all without needing to be physically present. That’s the power of remote access. It’s like having a tiny supercomputer at your fingertips, ready to execute commands, monitor sensors, or manage IoT devices—all from the comfort of your couch or even a different continent. This isn’t just cool; it’s practical.
But here’s the deal: setting up remote access isn’t always as straightforward as it seems. There are a few hurdles you might face, like configuring firewalls, dealing with IP addresses, or troubleshooting connection issues. Don’t worry, though—I’ve got you covered. In this guide, we’ll walk through everything you need to know, from the basics to advanced tips. By the end, you’ll be a pro at remotely accessing your Raspberry Pi and managing IoT projects on Windows 10.
What You’ll Need to Get Started
Before we jump into the process, let’s quickly go over the tools and software you’ll need. Think of this as your toolkit for success. Here’s what you’ll require:
- A Raspberry Pi (any model will do, but newer ones are better for performance).
- A stable internet connection for both your Raspberry Pi and Windows 10 machine.
- A keyboard, mouse, and monitor for initial setup (you can go headless later).
- Software like PuTTY or Windows Terminal for SSH connections.
- Optional: VNC Viewer for graphical remote access.
Once you’ve gathered everything, you’re ready to roll. But remember, preparation is key. If you skip a step or miss a detail, it could lead to frustration later on. So, take your time and follow along carefully.
Understanding the Basics of Remote Access
Alright, let’s talk about the fundamentals. Remote access basically means controlling one device from another, even when they’re not in the same physical location. For Raspberry Pi, this usually involves using SSH (Secure Shell) or VNC (Virtual Network Computing). Both methods have their pros and cons, so let’s break them down:
- Dylan Dreyer Announcement Today
- Adele Children
- Jillian Harris Net Worth
- Carlos Salinas De Gortari Net Worth 2024
- David Tolley Pianist Net Worth
SSH vs. VNC: Which One Should You Use?
SSH is like the command-line wizard of remote access. It’s fast, secure, and perfect for running scripts, managing files, or executing commands. On the flip side, VNC gives you a graphical interface, which is great if you need to interact with the desktop environment. Here’s a quick comparison:
- SSH: Lightweight, secure, and ideal for text-based tasks.
- VNC: More resource-intensive but offers a full graphical experience.
For most IoT projects, SSH will suffice. But if you’re working on something that requires a GUI, VNC is the way to go. Choose wisely based on your needs!
Step-by-Step Guide to Setting Up SSH
Now, let’s get our hands dirty. Setting up SSH on your Raspberry Pi is relatively simple, but there are a few steps you need to follow. Here’s how you do it:
Enable SSH on Your Raspberry Pi
First things first, you need to enable SSH on your Raspberry Pi. Here’s how:
- Boot up your Raspberry Pi and log in.
- Open the terminal and type:
sudo raspi-config. - Use the arrow keys to navigate to Interfacing Options and hit Enter.
- Select SSH and enable it.
- That’s it! SSH is now active on your Pi.
Pro tip: If you’re using Raspberry Pi OS Lite, you might need to enable SSH by creating an empty file named ssh on the boot partition. Easy peasy!
Connecting Your Raspberry Pi to the Internet
Here’s where things get interesting. To remotely access your Raspberry Pi, it needs to be connected to the internet. This can be done via Ethernet or Wi-Fi. If you’re using Wi-Fi, make sure your Pi is configured to connect automatically. You can do this by editing the wpa_supplicant.conf file:
- Open the terminal and type:
sudo nano /etc/wpa_supplicant/wpa_supplicant.conf. - Add the following lines, replacing
SSIDandPASSWORDwith your network details:
 network={
 ssid="YOUR_SSID"
 psk="YOUR_PASSWORD"
 }
Save the file and reboot your Pi. Voilà! It should now connect to your Wi-Fi network.
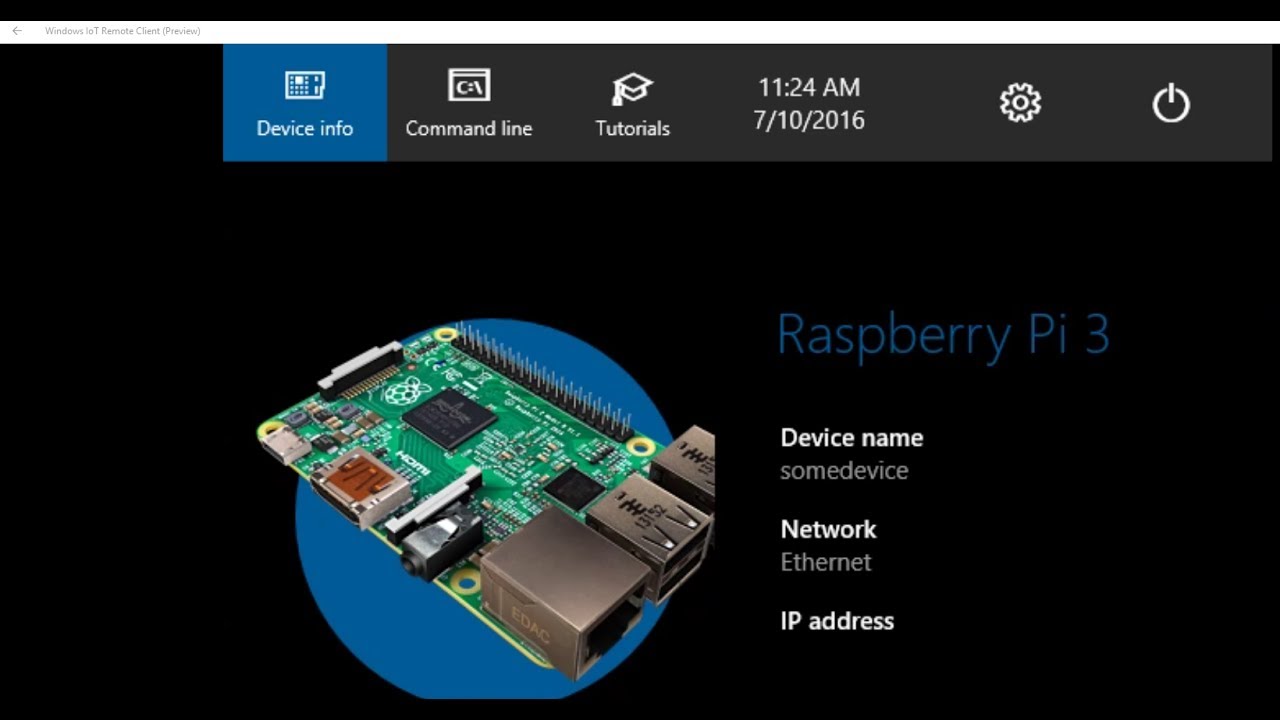
Find Your Raspberry Pi’s IP Address
Now that your Pi is online, you need to find its IP address. This is crucial because it’s how your Windows 10 machine will locate it on the network. Here’s how:
- Open the terminal on your Raspberry Pi.
- Type:
hostname -I. - This will display the IP address of your Pi.
Make a note of this address—you’ll need it later when setting up the SSH connection.
Using PuTTY to Connect via SSH
With the IP address in hand, it’s time to connect to your Raspberry Pi from your Windows 10 machine. PuTTY is a popular tool for SSH connections, and here’s how you use it:
- Download and install PuTTY from the official website.
- Open PuTTY and enter the IP address of your Raspberry Pi in the Host Name field.
- Set the Connection Type to SSH.
- Click Open and log in using your Raspberry Pi credentials.
And just like that, you’re connected! You can now run commands, manage files, and control your IoT devices from anywhere.
Troubleshooting Common Issues
Let’s face it—things don’t always go as planned. If you’re having trouble connecting, here are a few common issues and how to fix them:
1. Can’t Connect to the IP Address
Make sure your Raspberry Pi and Windows 10 machine are on the same network. Double-check the IP address and try pinging it from your Windows machine using the command: ping [IP_ADDRESS].
2. SSH Not Enabled
Go back to your Raspberry Pi and re-enable SSH using the raspi-config tool. Also, ensure that the SSH service is running by typing: sudo systemctl status ssh.
3. Firewall Blocking Connections
If you’re connecting from outside your local network, your router’s firewall might be blocking SSH traffic. Check your router settings and allow incoming connections on port 22 (the default SSH port).
Advanced Tips for Secure Connections
Security is paramount when it comes to remote access. Here are a few tips to keep your Raspberry Pi safe:
Change the Default SSH Port
Changing the default SSH port (22) can help prevent brute-force attacks. To do this:
- Edit the SSH config file:
sudo nano /etc/ssh/sshd_config. - Find the line that says
Port 22and change it to a different number (e.g., 2222). - Restart the SSH service:
sudo systemctl restart ssh.
Use Public Key Authentication
Instead of relying on passwords, you can use public key authentication for added security. Here’s how:
- Generate a key pair on your Windows machine using PuTTYgen.
- Copy the public key to your Raspberry Pi’s
~/.ssh/authorized_keysfile. - Disable password authentication in the SSH config file.
Exploring IoT Projects with Remote Access
Now that you’ve mastered remote access, it’s time to put your skills to the test. Here are a few IoT projects you can tackle:
- Home automation systems.
- Weather monitoring stations.
- Smart security cameras.
- Remote-controlled robots.
The possibilities are endless! With your Raspberry Pi as the brains of the operation, you can create innovative solutions to real-world problems.
Conclusion: Take Your IoT Projects to the Next Level
And there you have it—everything you need to know about remotely accessing your Raspberry Pi from Windows 10. By following this guide, you’ve unlocked the power to manage IoT devices, run scripts, and control your Pi from anywhere in the world. Pretty cool, right?
But here’s the kicker: knowledge is only useful if you apply it. So, take what you’ve learned and start building! Whether you’re automating your home, monitoring environmental data, or creating something entirely new, the world of IoT is at your fingertips. And don’t forget to share your experiences and projects with the community. Who knows? You might inspire someone else to take the leap into the world of remote IoT.
Until next time, stay curious, keep learning, and happy tinkering!
Table of Contents
- What You’ll Need to Get Started
- Understanding the Basics of Remote Access
- Step-by-Step Guide to Setting Up SSH
- Connecting Your Raspberry Pi to the Internet
- Find Your Raspberry Pi’s IP Address
- Using PuTTY to Connect via SSH
- Troubleshooting Common Issues
- Advanced Tips for Secure Connections
- Exploring IoT Projects with Remote Access
- Conclusion: Take Your IoT Projects to the Next Level
Article Recommendations

Detail Author:
- Name : Ms. Myrtie Lang
- Username : west.melody
- Email : prohaska.vilma@mueller.com
- Birthdate : 1984-10-22
- Address : 240 Aisha Trace North Colbyhaven, ID 51179
- Phone : +1 (757) 827-5223
- Company : Wiegand-Jenkins
- Job : Podiatrist
- Bio : Ex placeat totam et dolore. Esse in exercitationem ut eum maiores eum. Omnis voluptates et aut ea est ut incidunt. Et et earum libero dolor ducimus dolorum. Dolorem doloremque rem enim quia.
Socials
linkedin:
- url : https://linkedin.com/in/ricem
- username : ricem
- bio : Voluptas quam voluptas repellendus.
- followers : 2324
- following : 1085
facebook:
- url : https://facebook.com/ricem
- username : ricem
- bio : Sit veritatis ratione vero est et illum.
- followers : 2216
- following : 2488
tiktok:
- url : https://tiktok.com/@mckayla_rice
- username : mckayla_rice
- bio : Pariatur non ea ut porro natus optio et.
- followers : 1139
- following : 704
